|
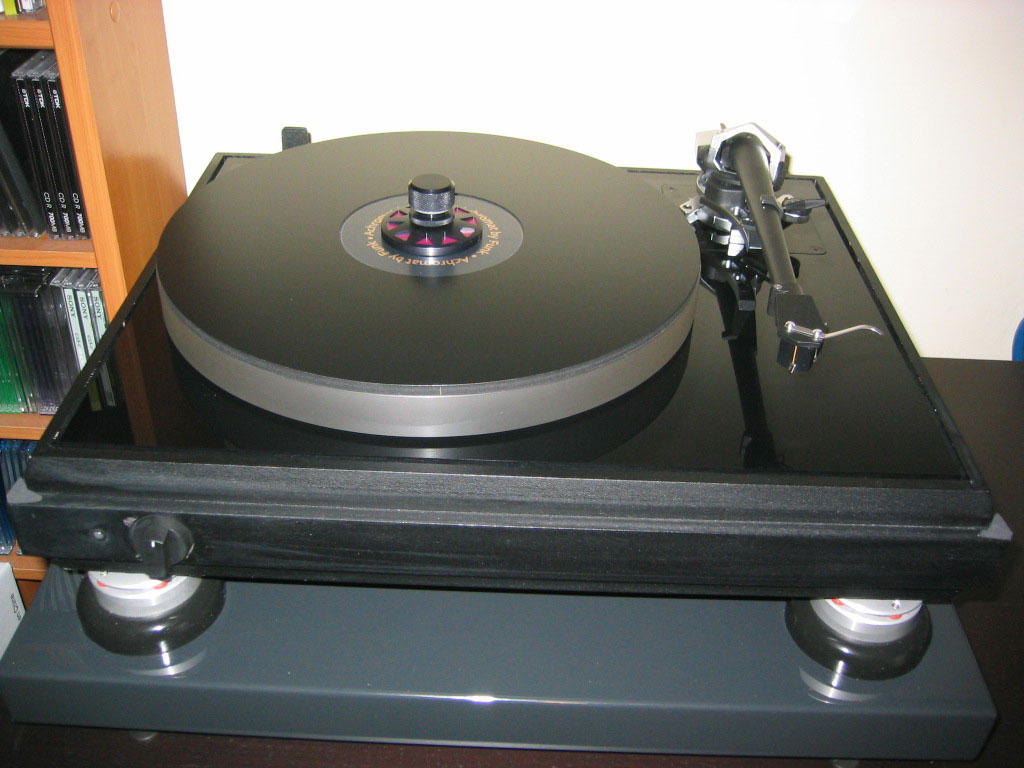
for Pink Triangle Turntables
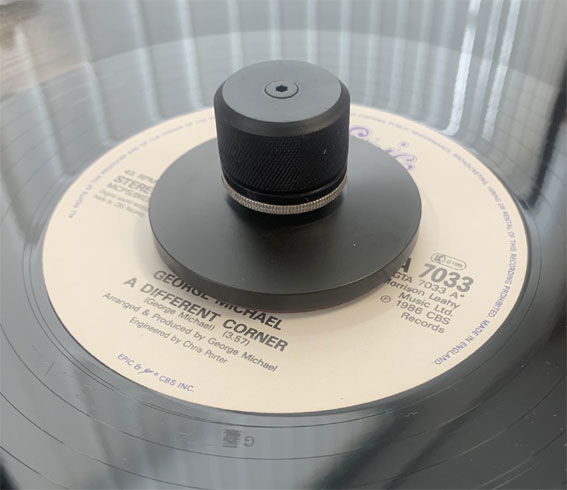
Andrew from 'Audiograde' writes: - "I recently upgraded to True Point Audio's dedicated Pink Triangle clamp on my Export GTI. My only regret is not doing so sooner. It's superb quality, being well made with a padded grip that won't damage your record labels. It's also styled to be in-keeping with the deck's original design, unlike many clamps which stand out a mile as being an aftermarket product." visit: audiograde.uk The total mass of the clamping knob is less than 46.1 gms which is well within the recommended loading of the platter. Please contact us for price and delivery.
We have specifically designed it so that it is fully adjustable to use on platters with no mat to platters with 5 mm thick mats. It also does not scuff the record label as it is tightened up. The Record Clamp can be used to safely lift the bearing and platter off the spindle without fear of the platter and bearing dropping and smashing the jewel.
Operating guide: - Please read the following instructions carefully before fitting the Record Clamp, we can not accept any liability for any damage caused to the turntable or associated equipment. If you have any queries about fitting the Record Clamp then please contact us before fitting it.
If your Clamping Knob does not screw far enough into the brass spigot that the vinyl disc locates on, then send the Clamping Knob and the upper part of the PT bearing to us at True Point Audio Ltd and we will drill and re-thread the brass spigot deeper. This will ensure the Clamping Knob works correctly with your turntable setup. We will do this free of charge. Unfortunately this may be necessary because we have found that the depth of the M3 tapped hole in the brass spigot does vary. Also, if your PT bearing's brass spigot does not have an M3 tapped hole, send it to us and we will machine it to the correct depth for you free of charge. To remove the Clamping Knob 1. Gently hold the base of the Clamping knob lightly to stop the platter spinning, then unscrew the knob until the base lifts off label (see photo 3). 2. Then steady the platter whilst unscrewing the knob completely. 3. Carefully lift off the Clamping Knob.
R. Vranas has kindly donated a Portuguese translation of the setting
instructions to help our Portuguese enthusiasts.
Special thanks to Jagtar Semplay www.semplay.com for preparing photos. We reserve the right to change specification without notice.
Copyright © True Point Audio Ltd |